After having only ever attempted one cake in the past using fondant to decorate, I was hesitant to take on this Soccer Ball Cake Project. Especially since, for the making of the last cake, I didn’t roll out the fondant enough, and it didn’t even come all the way down the sides of the cake; leaving me patching up the gaps with various fondant strips–not very professional looking! So, when this Soccer Ball Cake ended up being a huge hit at the birthday party I made it for, I thought I would share the simple steps; because if I could make it, anyone can. As a bonus; the entire thing was made using household items–no fancy cake making tools!
The awesome part is that the same steps can be followed for any sports ball cake (basketball, baseball, tennis ball..), or any rounded cake really, just adapting the decorating phase accordingly.
Step 1:
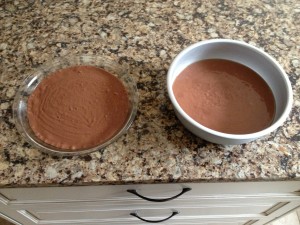
Follow the directions on a box of cake mix of your choice, and split the batter somewhat evenly between two round cake pans of equal (or similar) diameter.
Step 2:
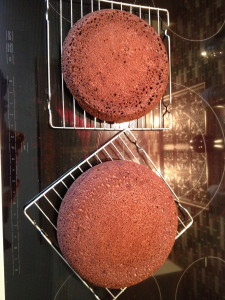
Bake cake according to directions on box and remove from pans. Allow to cool to room temperature (approx. 1 hour).
Step 3:
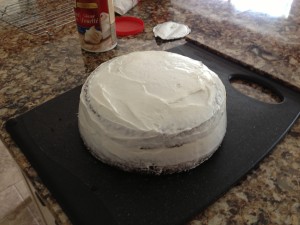
After cakes have cooled, generously ice using whipped icing. Start by icing the top of the cake that will be on the bottom, and then place the other cake on top. Then, continue to ice until sides and top are roughly covered. One of my cakes was slightly smaller in diameter than the other, so I placed this cake on top and it started to give the rounded shape. After icing, place cake in the fridge (or freezer if you’re impatient like me!) until it becomes very firm (about 20-30 minutes in the freezer).
Step 4:
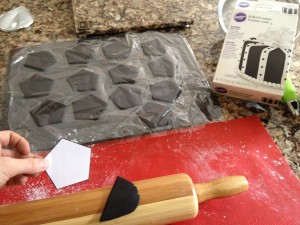
This step can be done while you’re waiting for the cakes to cook, cool or chill in the fridge. Roll out black fondant and use a paper pentagon template to cut into several pentagons with a knife (if you have a cookie cutter, then all the better!). Don’t forget to lightly coat your work surface and rolling pin in icing sugar so the fondant won’t stick. I placed them on a piece of cling wrap for easy removal, with an additional piece on top to prevent them from drying up.
Step 5:
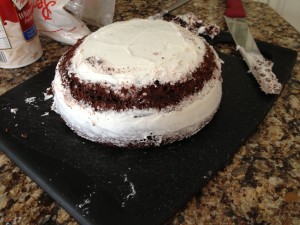
Once the cake is completely chilled and firm, use a large serrated knife to carve a curved edged around the top of the cake. This will give it as much of a ball shape as possible. Don’t worry if it’s not perfect…icing works wonders!
Step 6:
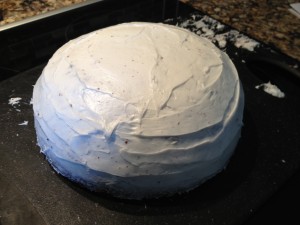
Generously ice entire cake, again with whipped icing, and smooth out imperfections. This is the last opportunity to give your cake as much of an even rounded shape as possible.
Step 7:
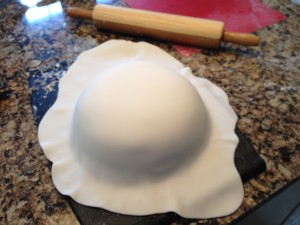
Now for the workout! Roll out the white fondant large enough to generously cover your entire cake. It may be necessary to measure the diameter of your cake to avoid running into the same fondant crisis as I did with my last cake. Drape the fondant over your cake and begin smoothing it over with your hands. It is important to have enough excess fondant so that it doesn’t wrinkle on the sides of your cake.
Step 8:
Starting to get professional looking! Once you’re sure the entire cake is covered and wrinkle-free, cup your hands slightly and run them around the bottom edge of your cake, using the edge of your pinky finger and hand to crease the fondant at the bottom of the cake looking like…
This!
Step 9:
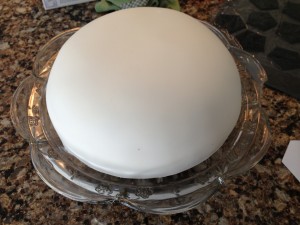
Use a sharp knife to cut around the bottom edge of your cake, removing the excess fondant. At this point, I was ready to decorate and realized that I probably should have come up with a better plan for transferring the cake onto the platter…I used cardboard pieces and a lot of luck, but I would recommend placing the cake on some sort of a base that can be cut to the size of the cake immediately before icing, allowing you to transfer it seamlessly from one step to the next.
Step 10:
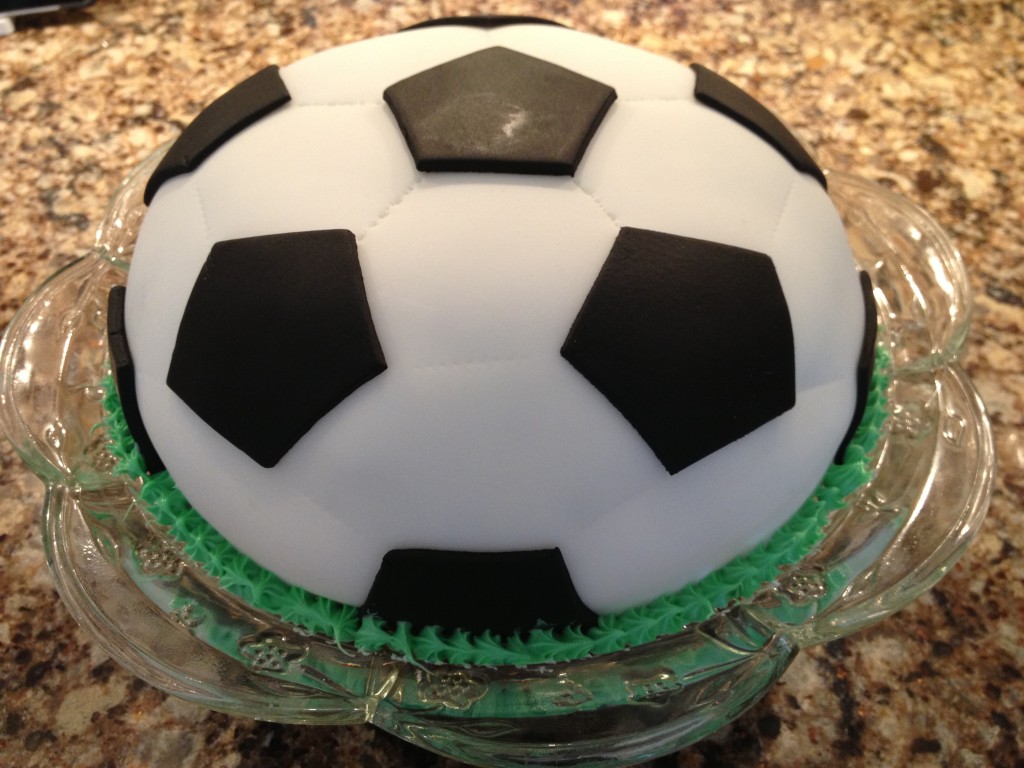
Time to go from white blob to soccer ball! I began by placing one of the black pentagons in the middle of the cake. In theory, I was supposed to use a mathematical approach to place every piece in it’s exact position, but, because the cake is not a perfect half sphere anyway, it quickly became a guessing game. Thankfully, although it wasn’t perfect, it looked enough like a soccer ball once every piece was placed. I gently pressed each piece on to get an idea of placing, and then, when I was sure of where every piece was going, I lightly wet a towel and rubbed it on the back of each piece, fastening it to the cake.
And voila!
The final touches included using a serrated knife to create the stitching effect of the white pieces, and piping green icing around the bottom for grass.

![IMG_1016[1]](http://rachellesblog.com/wp-content/uploads/2013/04/IMG_10161-300x225.jpg)
